 Marcelo Oliveira
Zion National Park rewards travelers who pick just a few trails and sort out transportation before entering the canyon. You don’t need a reservation for most of your visit, but the shuttle, the Angels Landing permit, the heat, and flash floods in The Narrows can completely reshape your day.
Hotels in Springdalefree cancellation options onlySee hotels ›Booking.com partner (advertising): we may earn a commission at no extra cost to you.
What to know before you enter Zion
You don’t need a timed reservation or a permit to enter most of Zion Canyon; you just pay the park fee or use a valid federal pass. The exception is specific activities. Your first step is to check the NPS visitor guidance and the day’s conditions, because roads, water, and trails close when the weather demands it.
Springdale is the practical base for the south entrance. Get groceries, water, chargers, and fuel sorted before your hiking morning. Inside the park, cell signal can be spotty, and improvising your trail choice after finding a full parking lot is a surefire way to lose hours.
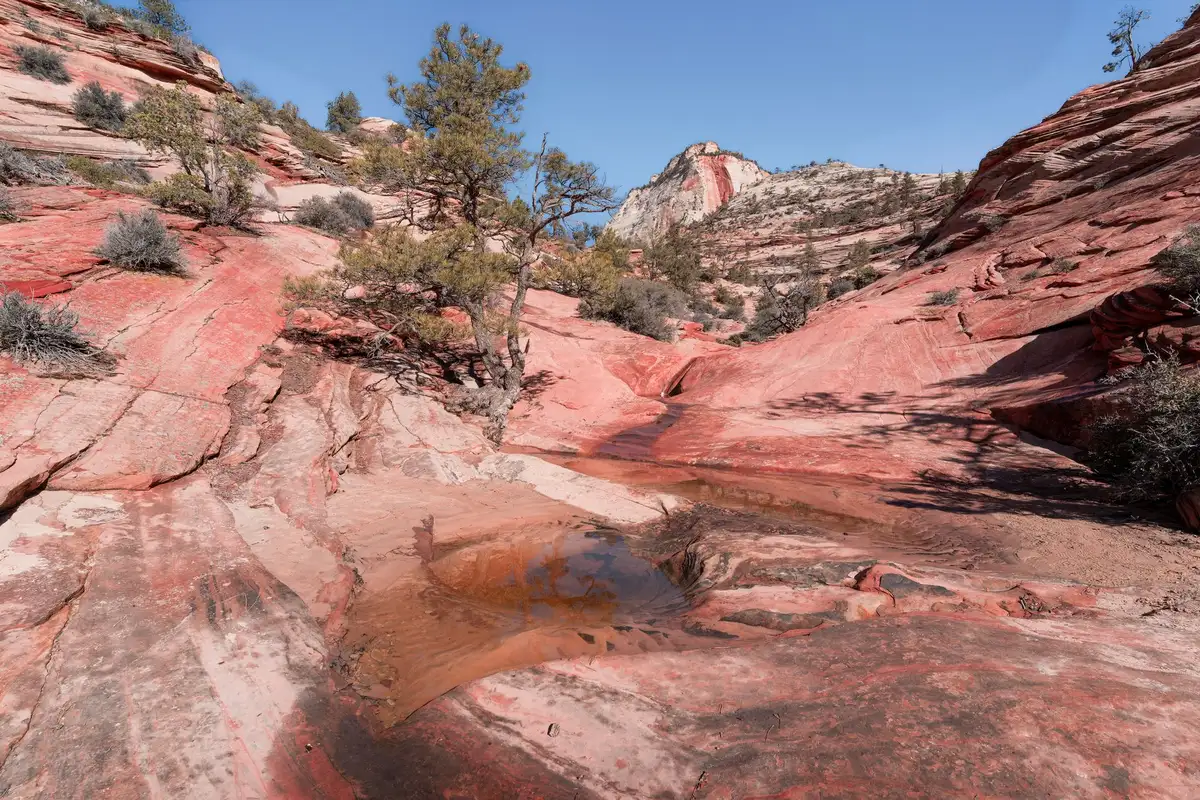
The shuttle defines your day in Zion Canyon
During shuttle season, private cars don’t drive into Zion Canyon Scenic Drive. The free internal bus connects the Visitor Center to stops like The Grotto, Zion Lodge, and Temple of Sinawava; typical intervals are 5 to 10 minutes. Read the official shuttle schedule before choosing your first trail.
That rule changes the order of your itinerary. If your hike starts at The Grotto or Temple of Sinawava, get in early, board, and only then think about coffee or photo stops. At the end of the day, save time for the last bus; walking back along the road isn’t a reasonable option for anyone who left their car at the Visitor Center.
Trails to choose by your time and stamina
For a first visit, pick one main hike and one bonus walk. Riverside Walk is the easiest option to reach the start of The Narrows; Emerald Pools works for anyone wanting a moderate trail; Scout Lookout is a demanding climb but lets you see the canyon even without tackling the chains of Angels Landing. Don’t try to stack everything into a single hot day.
If you only have a few hours
Take the shuttle to one stop, do Riverside Walk or a short hike near the lodge, and head back with a buffer. The payoff is experiencing the scale of the canyon without turning logistics into a race.
If you want a moderate trail
Choose Emerald Pools based on conditions and your tolerance for elevation gain. Start early and carry water; the shade from the cliffs doesn’t erase the heat of the open hours.
If you’re after a climb and a view
Scout Lookout is the alternative for anyone tackling the West Rim climb but who doesn’t have or doesn’t want to use the Angels Landing permit. The view comes before the narrow, exposed section.
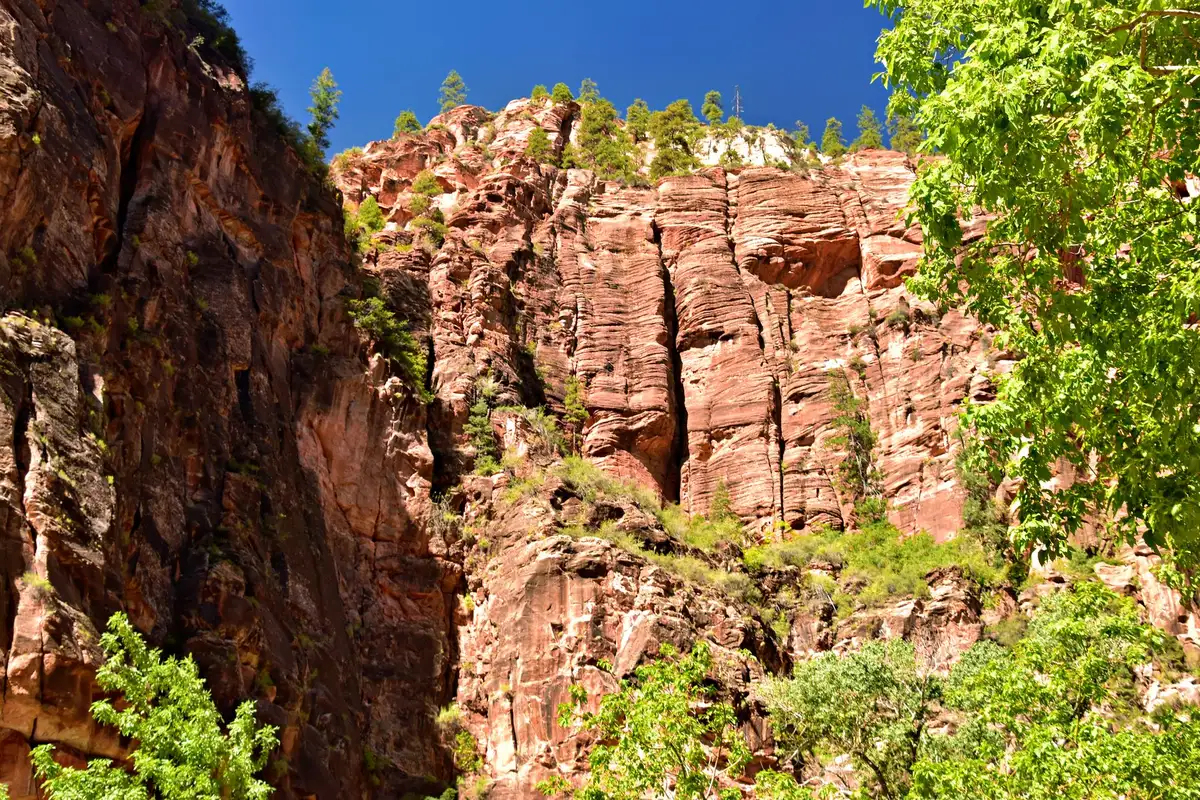
A guided hike can be useful for anyone who prefers to start with local context and a set pace. Still, a guide doesn’t replace reading the conditions and rules for your route.
After the activity, keep the rest of the day light. A guided hike doesn’t give you right of way on the shuttle or remove the need for water, proper footwear, and a return within park hours.
Angels Landing: when it’s worth trying for the permit
Everyone continuing from Scout Lookout to Angels Landing needs a permit. The full hike is 5.4 miles round trip and usually takes about 4 hours; the final stretch is narrow, has chains, and involves severe drop-offs. Check the NPS page on Angels Landing and enter the seasonal lottery or the day-before lottery.
Don’t treat the permit as a mandatory item on a first trip. If you’re afraid of heights, unsteady on exposed terrain, short on time, or facing a bad forecast, Scout Lookout is the better call. The lottery reduces congestion; it doesn’t turn the ridge into a trail suitable for everyone.
The second card is here, separated by two editorial paragraphs from the first. Even with an operator, check whether the activity includes the permit or whether it depends on your own authorization: the federal rule still applies.
The Narrows: beautiful, but at the mercy of the water
The bottom-up route of The Narrows, starting at Temple of Sinawava, doesn’t require a permit, but high water can make the hike impossible. The top-down route, at 16 miles, requires a permit. Under the NPS rule for The Narrows, those starting from the bottom shouldn’t go past Big Spring, about 4.7 miles in.
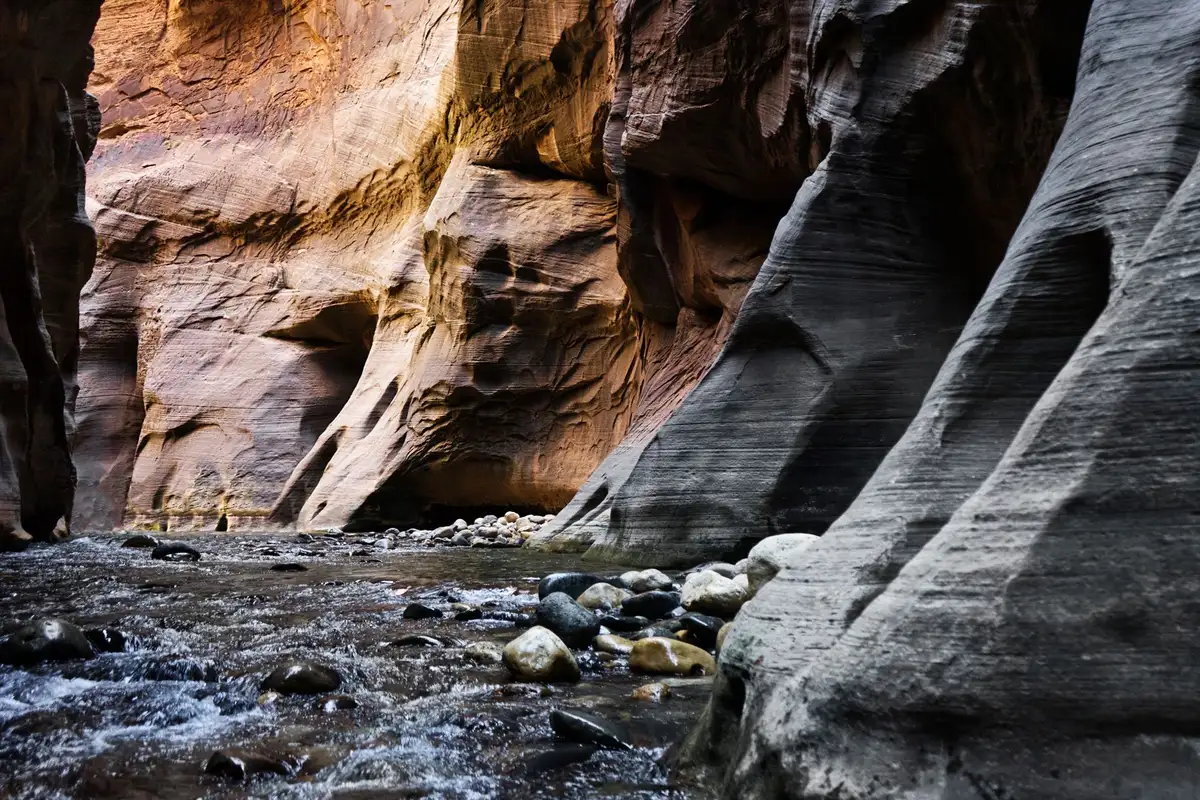
Check the flash flood alert on the day itself and abandon the plan if a storm is forecast. In narrow canyons, distant rain in the watershed can change the water quickly. Shoes with good grip, a trekking pole, and clothing suited to the water temperature make more difference than speed.
When to avoid the crowds and how to cut the lines
The NPS points to peak wait times and crowd recommendations at the Visitor Center between 8 a.m. and noon; in high season, the shuttle line can exceed 30 minutes. Arrive before that window, board for your first destination of the day, and save photo stops for the way back. Weekends, holidays, and mild-weather months draw the most visitors.
Avoiding crowds doesn’t mean finding Zion empty. It means starting early, sleeping near the entrance, not switching trails at every stop, and accepting an alternate route when your favorite spot is congested. Anyone trying to enter late usually finds sun, packed buses, and less time to hike.
When to go: seasons, heat, and monsoons
Spring and fall usually make hiking easier, but they also draw more people. Summer brings intense heat and, from July to September, monsoons with fast storms and flash flood risk; always check current conditions. Winter reduces traffic but can bring cold, snow, and closed secondary roads. Choose your season based on your priority trail, not just the average temperature.
Between July and September, also read the NPS monsoon advisory. A clear morning doesn’t rule out heavy afternoon rain; adapt your hike to the forecast and keep a non-canyon activity for unstable days. At the height of summer, start before the sun is high and cut the hike short if heat, fatigue, or dark clouds change the picture.
A realistic itinerary for 1 or 2 days
For a first visit, set aside 1 full day for Zion Canyon; with 2 days, you can split a long hike in The Narrows or an alternate route. In one day, use the morning for a main hike in Zion Canyon and the afternoon for Riverside Walk or accessible viewpoints. In two days, dedicate one to Angels Landing or another long climb and the other to The Narrows, if conditions allow. Don’t use the second day to “make up for” a risky plan: have a dry hike as a backup.
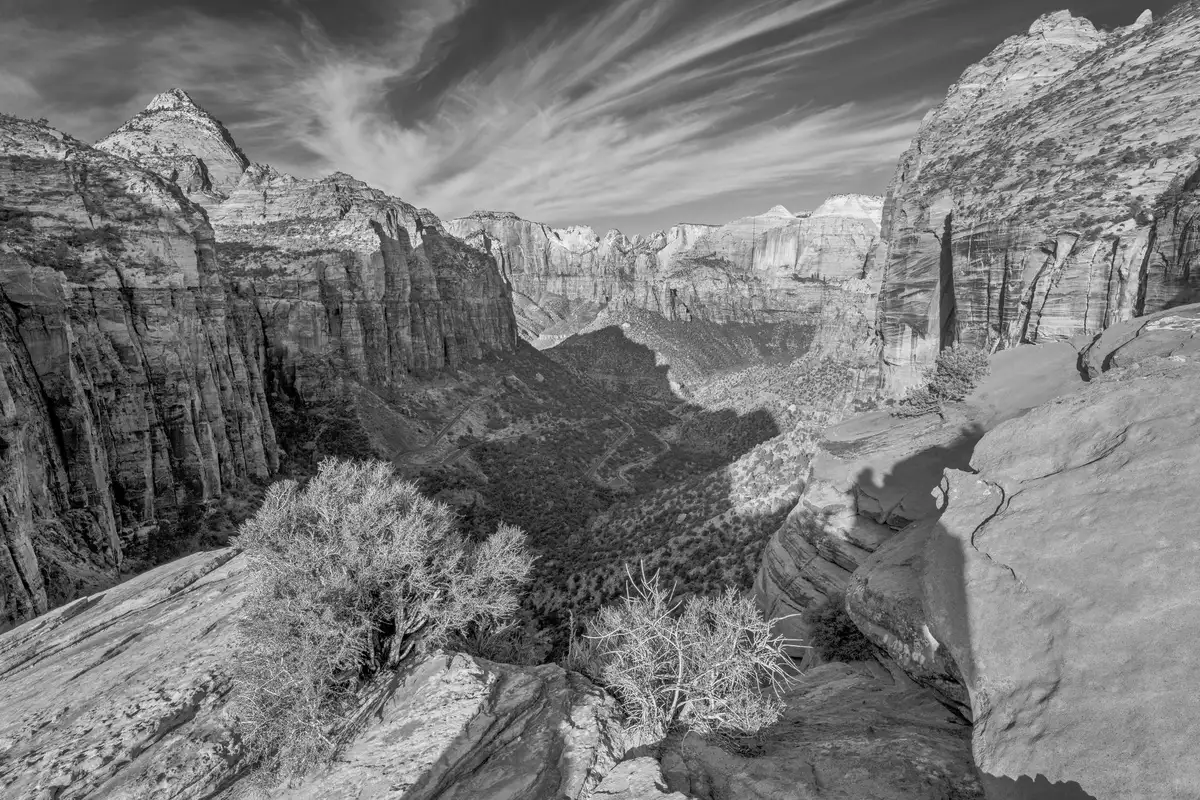
To expand your Southwest loop, compare the park’s pace with the guide to the Grand Canyon in Arizona, the short visit to Antelope Canyon, and the logistics of a day trip from Vegas in the Grand Canyon itinerary.
Zion works best when you choose the trail that fits your body, the weather, and the shuttle. If the Angels Landing lottery doesn’t come through or The Narrows is impassable, the park still delivers strong days — as long as you commit to the alternative early, not as a patch at the end of the afternoon.
Before bed, check the first bus time, the weather alert, and the water you’ll carry the next day. That simple prep is the most reliable way to save time and keep crowds from defining your trip.
Another way to protect your itinerary is to decide the night before which will be trail A and which will be trail B. Route A might depend on a permit, low water, or the shuttle running; route B should be a hike with no extra requirements. That way you don’t waste the best window of the day scrolling through options in the parking lot.
On Angels Landing, the climb to Scout Lookout is already tiring and doesn’t need to be treated as a warm-up. In The Narrows, getting your feet wet isn’t the same as being ready for currents and slippery rocks. Pack food, water, an extra layer, and emergency light based on the actual activity, not the photo you’re hoping to take.
For anyone traveling with kids or preferring less exposure, Riverside Walk and the stops reached by shuttle offer an honest read on the canyon. You’ll see cliffs, the river, and the geological scale without depending on chains, a lottery, or big elevation gains. That choice usually leaves more time to observe and less pressure to prove you “did” the park.
The secret to avoiding crowds isn’t chasing a checklist of attractions: it’s arriving early, cutting down on back-and-forth, and accepting the conditions the park presents. When your plan respects the buses, the weather, and each trail’s limits, Zion stops being a string of lines and becomes a place to walk with attention again.
 HotelAs soon as you have datesCompare neighbourhoods and guest ratings.Booking ›
 ActivitiesBefore you travelBook ahead the ones with limited spots.Civitatis ›